A sealed bottle can protect its contents well and still frustrate the first person trying to open it. By the end, you will understand how the pull tab works, how the seal is formed, what visible conditions indicate tampering, and which package and process details determine whether opening is genuinely easy.
Key takeaways
- Use the projecting tab instead of a fingernail, knife, or sharp tool.
- Check the bonded ring for a continuous seal and signs of interference.
- Match the wad to the container material, cap liner, and filling conditions.
- Reduce leakage by checking sealing temperature, pressure, dwell time, and cap fit.
What the pull tab changes for the person opening the package
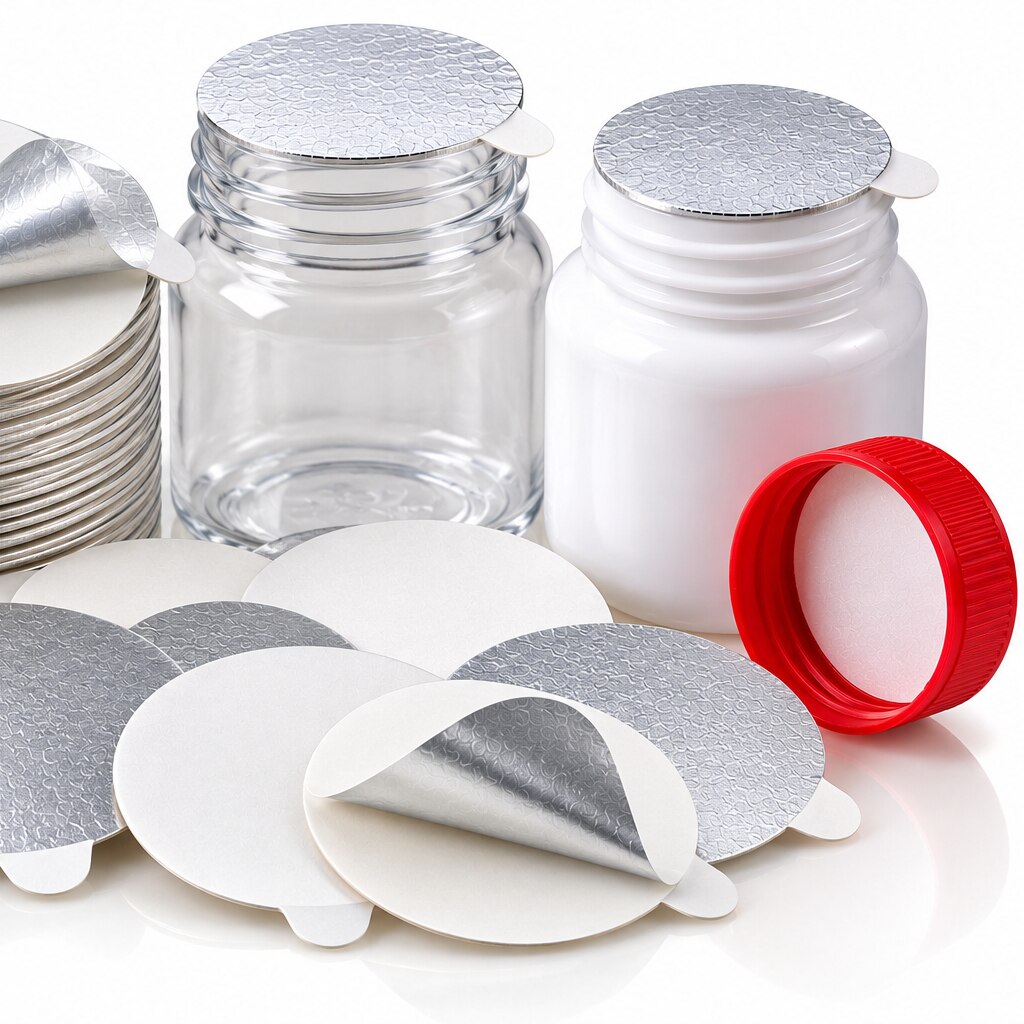
After removing the cap, look for the projecting pull tab at the edge of the seal. The tab gives you a ready-made grip, so you do not need to catch the foil with a fingernail, knife, or other sharp object.
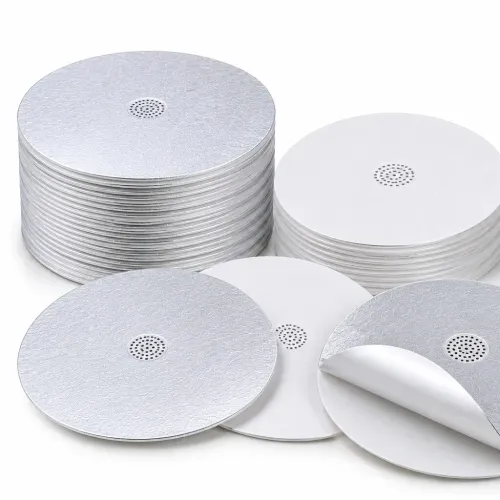
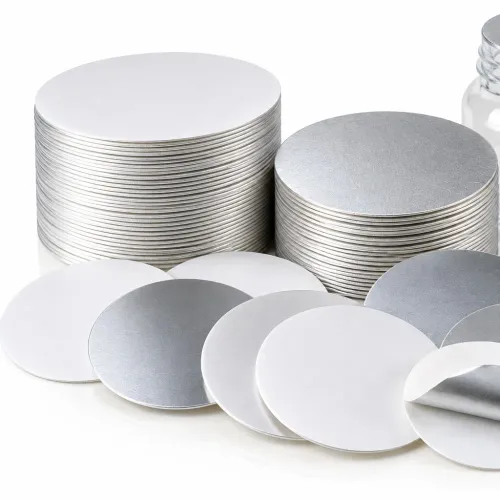
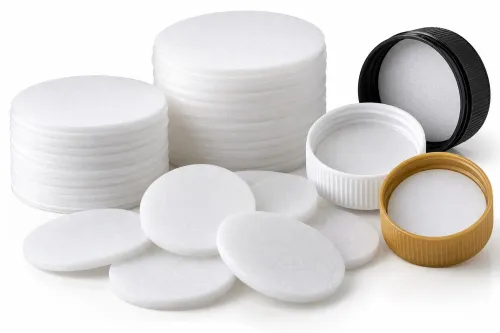
A Lift N Peel induction wad joins that tab to a peelable foil seal. Its construction can include a foil layer, sealant layer, container-contact layer, and backing or support layer. Induction bonds the seal to the container land; the pull tab only provides a controlled way to separate it.
That distinction matters: easy-open packaging still needs a continuous, leak-resistant bond before opening.
- Hold the container firmly with one hand.
- Pinch the pull tab between your fingers.
- Pull the tab upward and back across the container opening, keeping the force steady.
- Continue until the foil-and-seal layer separates, then lift it away and check that the opening is clear.
A properly attached tab peels the seal back as one piece rather than leaving foil across the mouth. Before first use, stop if the tab is missing, already lifted, torn, or partly detached; those signs indicate possible interference, although a tab’s presence alone does not prove seal integrity.
A Lift N Peel induction wad preserves a visible tamper-evident barrier while reducing the effort needed to open it.
How the wad bonds to the container and shows interference
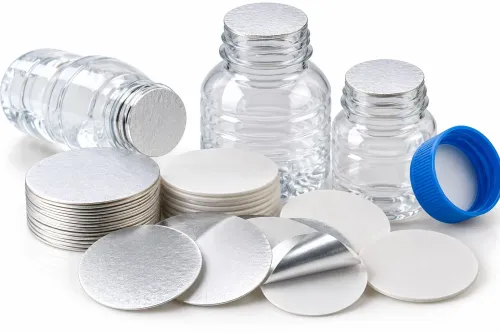
The seal forms when cap pressure holds the wad flat against the container finish and an induction coil generates an electromagnetic field above the closed cap. The field heats the foil, which melts its thermoplastic sealant layer onto the container land; the coil never touches or presses the wad.
A Lift N Peel wad combines a projecting tab with a foil layer, sealant, and backing or support layers. The tab improves access after cap removal, but it does not create the bond. Correct liner fit, cap alignment, and continuous contact still determine whether induction sealing produces a leak-resistant seal.
The creation sequence is:
- Apply the cap squarely so the wad remains flat across the finish. Tilted caps, damaged threads, low cap pressure, or uneven torque leave areas that cannot bond.
- Set the induction coil-to-cap gap and alignment for the actual closure. A large or uneven gap can produce a weak seal; a small or misaligned gap can overheat one area.
- Run the specified induction cycle so the foil heats evenly and the sealant bonds around the full container land.
- Inspect the tab and foil after cooling. The tab should remain attached and accessible, while the foil should appear continuous rather than lifted, scorched, wrinkled, or partly detached.
Before first use, a missing, lifted, torn, or previously bent tab is interference: someone may have opened the package, or the seal may have been damaged during filling, shipping, or capping. A continuous, firmly attached foil supports tamper evidence but does not prove leak integrity. Verify those requirements separately during package qualification.
How Lift N Peel compares with other closure and seal formats
A pull-tab induction seal is the better opening choice when users need tool-free access but the package still needs a visible inner tamper barrier. The projecting tab gives you a larger, more reliable grip than a bare foil edge, especially for users with short nails or limited hand strength.
| Option | Opening experience | When the pull-tab format wins |
|---|---|---|
| Standard induction wad | Strong barrier, but the user must catch and lift an edge with a fingernail or tool | Choose the tab when repeated complaints involve difficult edge access or damaged nails |
| Screw-cap packaging | Fast to open, but removing the cap alone does not remove an inner seal | Choose the tab when you need both cap convenience and a separate, visibly disturbed seal |
| Tear-off foil seal | Tool-free if the foil has a usable corner, but the corner can fold, tear or detach | Choose the tab when a consistent grip matters across production batches |
| Ring-peel seal | Provides a pull ring, but the ring’s position and size determine how easily it can be grasped | Choose the tab when the projecting grip must remain obvious after cap removal |
The trade-off is lower opening force than a non-peelable weld, not zero force. Specify the target for the actual bottle, cap, product and storage conditions; compare results only when peel angle, speed, specimen width, conditioning and failure mode are fixed.
Confirm easy opening separately from leak integrity and tamper evidence with peel testing and package leak testing.
How to match the wad to the bottle, cap and filling process
1. Measure the finish, not just the bottle body. Record the neck diameter, container land width, finish profile and cap’s internal clearance. A liner that is too small will not cover the sealing land; a deep recess, cap skirt or excessive tab tuck-in can hide the pull tab after capping.
2. Confirm material compatibility with production samples. A sealant made for an HDPE bottle is not automatically suitable for a PET bottle or glass container. Check the container-contact layer against the actual resin, glass coating and finish, because induction heat cannot correct a mismatched sealant.
3. Check the cap and wad together. The cap must hold the wad flat against the finish with consistent compression, while leaving the tab outside the skirt and clear of threads.
The induction head does not press the wad onto the container, so loose caps, uneven torque or a warped finish can create channels beneath an apparently intact foil.
4. Run trials on the real filling line, using the actual product, fill temperature, capper speed, torque and induction settings. Keep the sealing land clean and dry; product residue under the foil can cause weak spots and leakage.
5. Qualify both opening and integrity. Use ASTM F88/F88M to measure peel strength and failure mode, then use ASTM F2096 for gross-leak bubble testing or ASTM F1929 for dye penetration where porous packaging materials apply. Inspect tab access after capping and test samples after transport, not only immediately after sealing.
How to diagnose torn tabs, high pull force and leakage
Start with the failure, not the opening-force average: a hidden tab, torn tab, foil fragments or leakage points to different causes.
1. If the tab is hidden, inspect the finished pack, not just the drawing. Check the bottle finish recess, cap skirt, tab tuck-in and liner diameter. A small liner or excessive tuck-in can preserve the seal while making the tab unusable.
2. If the tab tears away, measure opening force and inspect the failure surface. High induction energy, an unsuitable sealant, narrow seal width or poor tab construction can make the tab detach before the seal peels. Record whether the foil separates cleanly or leaves foil fragments on the container.
3. If the seal opens with leakage, check seal continuity around the full land. Compare induction settings, cap application, container finish, headspace and fill level; liquid sloshing can wet the sealing area and create channels.
Confirm the cause with leak testing, not visual inspection alone: ASTM F2096 tests gross leaks, while ASTM F88/F88M records seal strength and failure mode.
4. Ask the supplier for a peel-force target tested on your bottle, cap and product. Require the peel angle, speed, specimen width, conditioning temperature and failure mode with every result; an average opening force without those details cannot support a fair comparison.
Surya Products Limited can support the decision by trialling the wad against your actual finish and filling line, then reviewing peel, leak and tamper-evidence results before production approval.
Related product
 | Easypeel Wads Aluminum foil based pull tab wad is reliable packaging sealing solution for FMCG, pharmaceutical and edible products. View product → |
Frequently asked questions
What does the pull tab change when opening sealed packaging?
It gives you a ready-made grip, so you can remove the seal without catching the foil with a fingernail, knife, or other sharp object.
How does a Lift N Peel wad show that the container seal was disturbed?
The wad bonds to the container mouth during induction sealing. A broken bond, lifted edge, torn foil, or interrupted bonded ring indicates interference with the seal.
How does Lift N Peel compare with other closure and seal formats?
Lift N Peel adds a dedicated opening tab, unlike plain foil seals that require an edge or tool. Compare it with screw-cap liners, peelable seals, and snap closures by opening force, tamper evidence, leak protection, and line compatibility.
How do you match the wad to the bottle, cap, and filling process?
Confirm the bottle material, mouth diameter, cap and liner construction, product compatibility, induction-sealing settings, and filling-line speed before selecting the wad.
What causes torn tabs, high pull force, or leakage?
Check tab placement, wad alignment, seal temperature, induction power, dwell time, pressure, cap fit, container finish, and contamination on the sealing surfaces.