A ring peel induction wad combines a heat-sealed barrier with a built-in feature that lets the user remove the seal without a knife or other tool. By the end, you will know how the opening mechanism works, how to match the wad to a container and product, and how to verify that the finished pack opens cleanly without sacrificing leak protection.
Key takeaways
- Match the liner to the container finish, cap, product and sealing process.
- Ring geometry lets users remove the foil without puncturing the seal.
- Check peel continuity, bond strength, foil integrity and product contamination.
- Choose ring peel when controlled, tool-free opening matters more than maximum barrier performance.
What a ring peel induction wad is and how the opening works
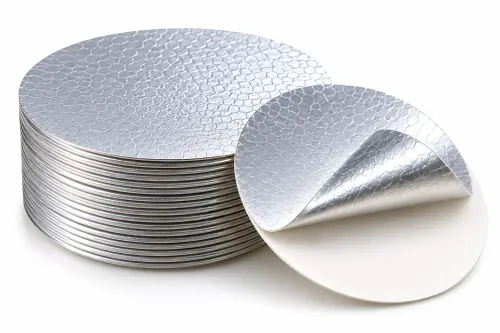
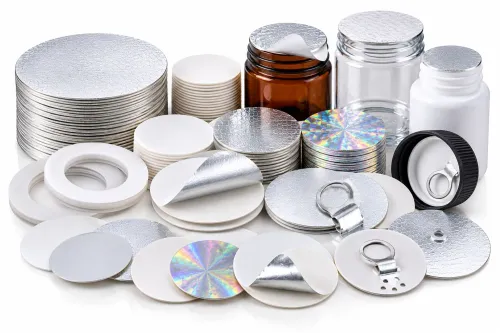
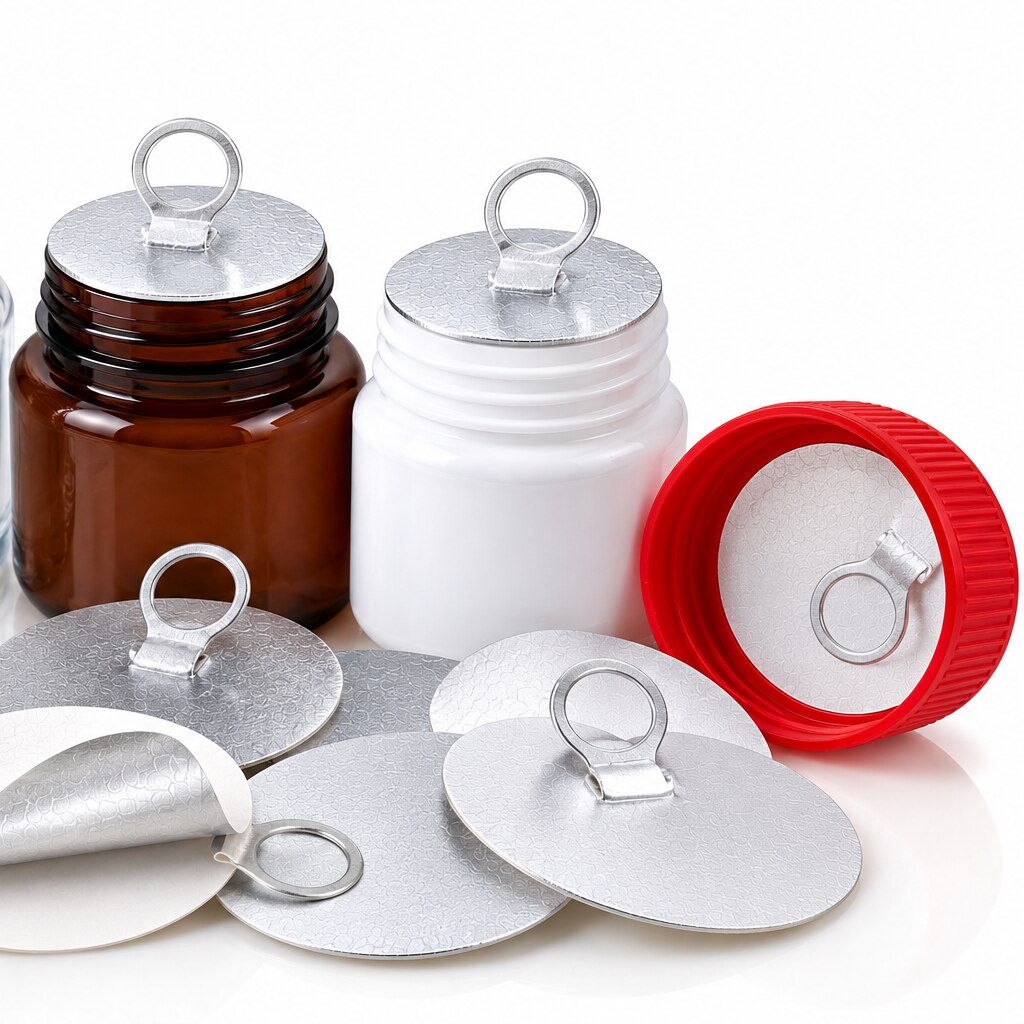
A ring peel induction wad is a liner with an aluminium foil barrier, a heat-seal layer bonded to the container finish, and an annular, ring-shaped peel feature linked to a pull ring or tab. The ring geometry directs separation around the neck, so you do not need to puncture the foil.
“Ring peel” is a commercial construction term, not a universal standard. Confirm the exact ring, tab, remaining foil and opening sequence on the supplier’s drawing or a production sample.
- Locate the raised pull ring or peel tab beneath the cap edge.
- Lift it with your fingertip until the seal begins to separate.
- Pull upward and continue around the neck in the direction set by the tear path.
- Remove the foil without scissors, a knife or a bottle opener.
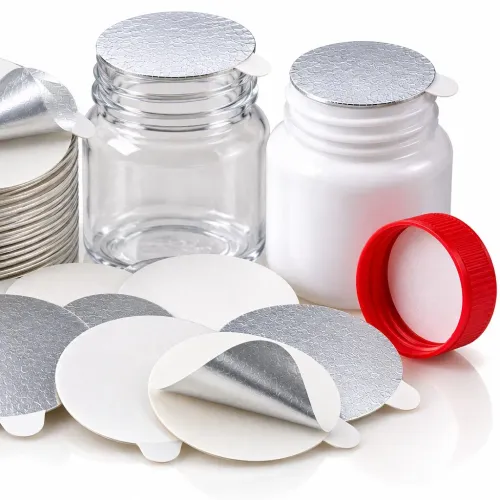
Ring peel differs from lift-and-peel designs through the grip’s shape and position. A pull-tab or Easypeel label can describe a similar benefit without proving identical geometry. A conventional non-peel induction seal has no dedicated grip and normally requires puncturing or removing the cap and seal together.
Ask whether the liner remains on the container, stays in the cap, or transfers as one piece. That choice affects clean dispensing, reclosure and how clearly the opened pack communicates tampering.
How to match the liner to the bottle, cap and product
Start with the actual production pack, not a resin name alone. A ring-peel liner that works on one bottle can leave an unsealed arc on another because the bottle neck finish, cap and sealing land differ.
1. Obtain the bottle neck finish drawing and inspect production samples. Confirm sealing-land width and flatness, cap inner diameter, liner outside diameter, cap depth, neck height and the fit between cap, liner and neck.
2. Verify where the heat-seal resin will make contact. Specify PE, HDPE, PP, PET or the coating on a glass closure; “plastic-compatible” is not enough. Run trials on filled production containers because laboratory plaques do not reproduce the real compression and geometry.
3. Check the sealing land for ovality, flash, particles and height variation. Tilted caps, wrinkles or an off-centre liner can create a skipped section that the intact foil hides.
4. Match the construction to the contents. Dry powders need a continuous seal that keeps dust out of the land. Oils and sauces need sealant compatibility plus leak testing after temperature exposure. Water-based liquids need resistance to leakage and sloshing.
5. For pharmaceutical packs, request documented product-contact compliance, cleanliness controls and lot traceability. Request the complete layer construction, sealant formulation, adhesive, primer, ink, coating and backing details.
Food-contact assessment covers every layer that can migrate or touch the product, not aluminium alone; United States projects can require review of 21 CFR 175.105 for adhesives and 21 CFR 177.1520 for polyolefins.
6. Reject ring peel when the pack needs deliberate venting, child-resistant access, pressure relief, very high chemical resistance or permanent resealing. Choose a vented, child-resistant, chemically resistant or resealable system when that function controls the risk.
How induction sealing creates a reliable ring peel
A reliable ring-peel seal comes from a process window, not a fixed power number. Induction coil setup must balance coil-to-cap distance, generator energy, line speed, cap torque or application pressure, dwell time and cooling.
Centre the liner and keep the cap square on a flat sealing land. Stabilise the container through sealing and cooling. Too much energy causes sealant squeeze-out, foil damage, scorched backing, neck deformation and excessive opening force.
Too little energy can leave an intermittent seal that looks intact before cooling but leaks later. Die-cut tolerances and neck-height variation also matter: a liner that is too small, too large or off-centre can leave a skipped segment beneath apparently complete foil.
- Establish settings with the production bottle, cap, ring-peel liner and filled product. Change one variable at a time during qualification.
- Record line speed, generator power or energy, exposure time or dwell time, coil height, cap torque, container temperature and cooling time during qualification and every changeover.
- Inspect cooled samples around the full sealing land. Reject wrinkles, exposed gaps, edge lift, sealant residue, foil creases, pinholes and local discoloration.
Keep the sealing area clean. Control liner storage, humidity and handling so moisture, dust, fingerprints and damaged edges do not enter the interface. A stable process protects both leak resistance and the controlled peel experience.
How to judge opening quality and validate the finished seal
A good ring peel starts at the intended grip, follows the designed path with controlled effort, and leaves a clean, continuous separation. A torn tab points to a damaged die-cut; a partial seal suggests misalignment, contaminated sealing lands or insufficient energy; high peel force can indicate unsuitable sealant, excess energy or poor compression.
Wrinkles, residue, liner lift, and leakage require separate investigation.
| Observation | Likely concern |
|---|---|
| Torn foil or tab | Damaged die-cut or excessive energy |
| Unsealed arc | Misalignment, contamination or insufficient energy |
| Sealant residue | Excessive energy or unsuitable sealant |
| Liner lifts with cap | Poor compression or incorrect construction |
| Leak after cooling | Intermittent seal or inadequate sealant compatibility |
Do not treat a torn tab as proof of correct sealing, or easy pulling as proof of leak protection. Set peel-force checks from the pack specification and destination-market requirements, not a universal force limit. Obtain the converter’s method and acceptance limits, then define the gripping point, pull direction, pull rate and test temperature.
ASTM F88/F88M compares seal-strength behaviour, but its straight-strip geometry does not reproduce hand opening around a neck. Add a defined ring-opening test. Validate the filled pack with:
- ASTM F2096 leak testing for gross-leak bubble emission
- ASTM F2338 leak testing for vacuum decay
- Testing after sealing, cooling, aging and distribution simulation
- Cap-torque checks, full-circumference visual inspection and tamper evidence
Record whether the ring detaches visibly, whether the cap can be reapplied, and how a consumer can see that the original seal has been opened.
When ring peel is worth choosing over other liner constructions
Choose ring peel when tool-free access and a predictable grip matter more than the lowest liner price. Compare the two-piece versus single-piece liner in the finished pack: opening force, line speed, seal-area tolerance, shelf life, transport leakage, reclosure, recyclability and failure risk.
A narrow or weak peel path improves access but leaves less margin against contamination, neck variation, temperature cycling, creep and distribution loads. Aluminium protects against oxygen and moisture only while foil and coatings remain continuous; creases, pinholes and edge damage defeat that barrier.
| Construction | Finished-pack comparison | Main checks |
|---|---|---|
| Ring peel | Best grip and access; reduced peel area can reduce sealing tolerance and leak resistance | Test opening force, aging, transport leakage, line speed and reclosure |
| Two-piece liner | Foil normally stays on the container while backing or cushion remains in the cap | Check dispensing, cap cleanliness, seal strength and component separation |
| Single-piece liner | The complete liner can transfer to the container for a clean, obvious opening | Check transfer reliability, cap handling, reclosure and failure visibility |
Assess the polymer sealant, paperboard, adhesive, ink and container recycling stream together; aluminium content alone does not prove recyclability. Include changeover time, operator checks, sample testing and special coil or cap-handling requirements.
Give the supplier neck and cap drawings, container resin, product chemistry, fill temperature, line speed and target opening experience, then request a production-container trial and construction drawing. When evaluating Surya Products Limited, ask for documented geometry, sealant, cap range, settings, test method and application limits.
Related product
 | Easypeel Wads Aluminum foil based pull tab wad is reliable packaging sealing solution for FMCG, pharmaceutical and edible products. View product → |
Frequently asked questions
What is a ring peel induction wad?
It is a liner with an aluminium foil barrier, a heat-seal layer and an annular peel feature connected to a pull ring or tab.
How does a ring peel induction wad open?
Pulling the ring directs separation around the container neck, removing the foil without requiring a puncture tool.
How do you choose the right ring peel liner?
Match the liner to the bottle finish, cap, product and induction-sealing process, then confirm that the materials form the intended bond.
How do you judge whether the finished seal is reliable?
Inspect the seal for continuous bonding, clean ring separation, intact foil and signs of leakage, contamination or uneven sealing.